
As the warm breeze of summer approaches, it’s time to dust off your barbecue and prepare for sizzling outdoor feasts. In this blog, we’ll explore essential aspects of preparing your outdoor cooking area for the season. First, discover the joy of DIY fire pits. We’ll provide step-by-step instructions to create your fire pit oasis. Next, we’ll delve into fixing and maintaining your pizza oven. Learn tips and tricks to troubleshoot and repair common issues. No summer barbecue is complete without a clean grill, so we’ll reveal the best products and methods for effortlessly restoring your grill’s shine.
Get ready to embrace summer’s culinary adventures with our comprehensive guide, ensuring your outdoor cooking space is primed for memorable gatherings and mouthwatering meals.
Here's our guide for a Sizzling Summer:
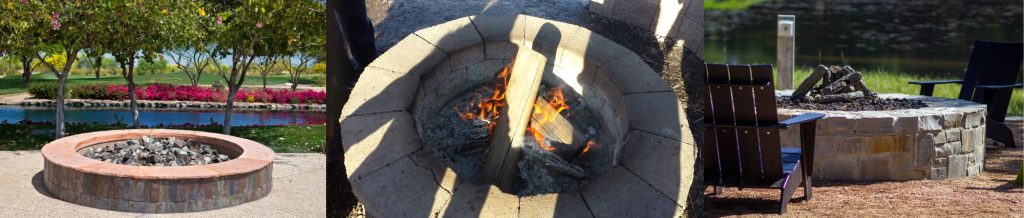
Creating your own fire pit is a rewarding project that can transform your outdoor space.
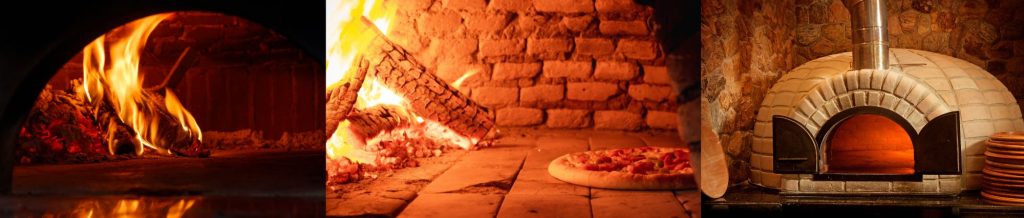
A pizza oven can transform any outdoor space into a hub of culinary delight and social gatherings. Its allure lies not only in the mouthwatering pizzas it produces but also in its aesthetic and functional appeal. With its rustic charm, a well-designed pizza oven becomes a centrepiece, adding character and warmth to your backyard or patio. The mesmerizing dance of flames and the aroma of wood-fired pizza create a captivating ambiance. It encourages friends and family to gather around, fostering connections and memorable moments.
Materials You’ll Need:
• Fireproof bricks or pavers (quantity depends on the desired size)
• Gravel or sand
• Shovel
• Level
• Tape measure
• String, rope or marking spray paint (optional)
• Work gloves
• Safety goggles
Step 1: Choose a Location
Select a safe, level location for your fire pit, keeping it away from overhanging branches, buildings, and flammable materials. Check local regulations and obtain any necessary permits.
Step 2: Determine Size
Decide on the size of your fire pit. Use a rope or string to outline the shape or mark it with spray paint.
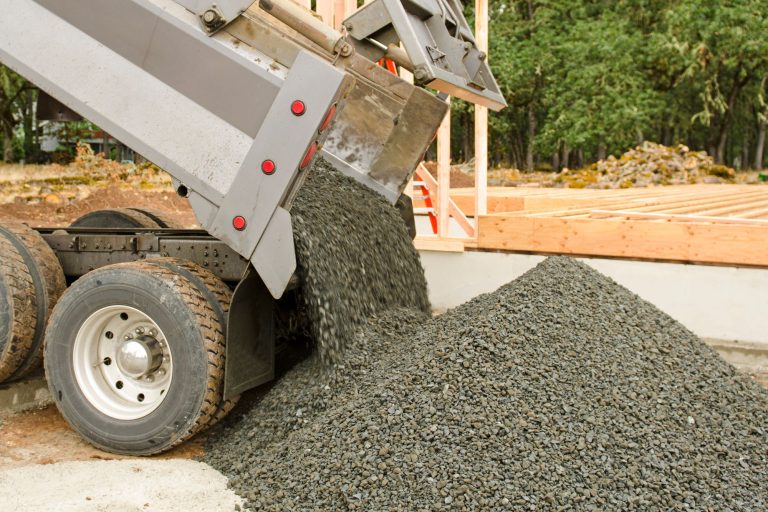
Step 3: Excavate the Area
Dig a shallow, circular trench following the outline you created in Step 2.
Step 4: Add a Base Layer
Pour a layer of fireproof gravel or sand into the trench to create a stable base for your fire pit. Use a level to ensure it’s even.
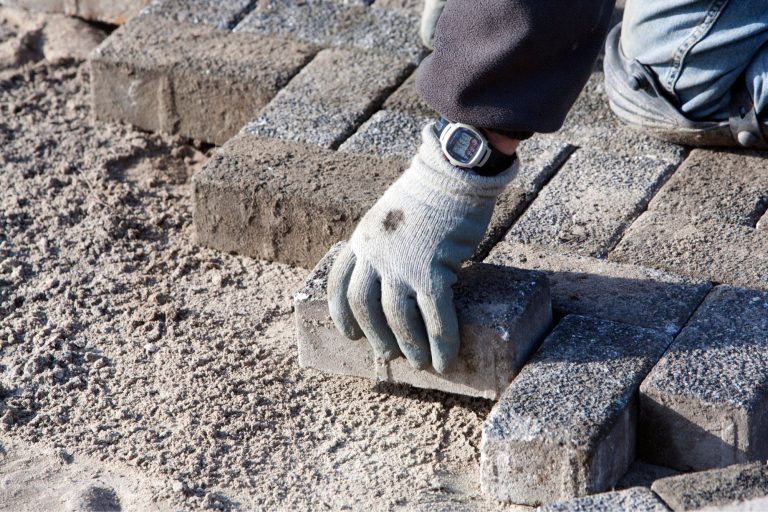
Step 5: First layer
Begin arranging the fireproof bricks or pavers around the edge of the fire pit ring to create the first layer. Fit them closely together, leaving small gaps for air circulation. Use a level to ensure they are level and adjust as needed.
Step 6: Fire Pit Flooring
Fireproof pavers/ fire bricks:
Carefully place the fireproof pavers or bricks inside the fire pit. Press them firmly into the gravel or sand, ensuring they are level and even. Fill with sand to fill the cracks once done.
Fireproof sand/ fire-rated sand or Fireproof gravel/ fire-rated gravel:
Using a shovel or rake, evenly spread a layer of fireproof sand or gravel on the bottom of the fire pit. The thickness of the layer can vary depending on your preference, but 2 to 4 inches should suffice. Ensure proper drainage to prevent the accumulation of water as stagnant water can cause the sand to crack when exposed to heat.
Step 7: Build Additional layers
Continue stacking bricks or pavers in subsequent layers until your fire pit reaches your desired height. Stagger the joints (like bricks in a wall) for stability. For added durability, you can use an adhesive like Hotspot Ready Mortar, designed for outdoor use between courses.
Step 8: Finish the Top (Optional)
For a finished look, consider placing a row of capstones on top of the final course of bricks or pavers. This adds aesthetics and provides a comfortable surface to sit on.
Step 9: Test the Fire Pit
Before using the fire pit, test it with a small fire to ensure proper ventilation and stability.
Step 10: Enjoy Safely
Now that your DIY fire pit is complete, you can gather around it with friends and family. Always follow safety precautions and have a fire extinguisher or water source nearby when using your fire pit.
Note: Limestone, sandstone, and river rocks are not suitable for fire pits due to their high water retention capacity.
Remember to check local regulations regarding fire pit usage and maintenance. With proper care, your homemade fire pit will provide warmth and ambience for many seasons to come.
Pros and cons to sand, gravel, and pavers
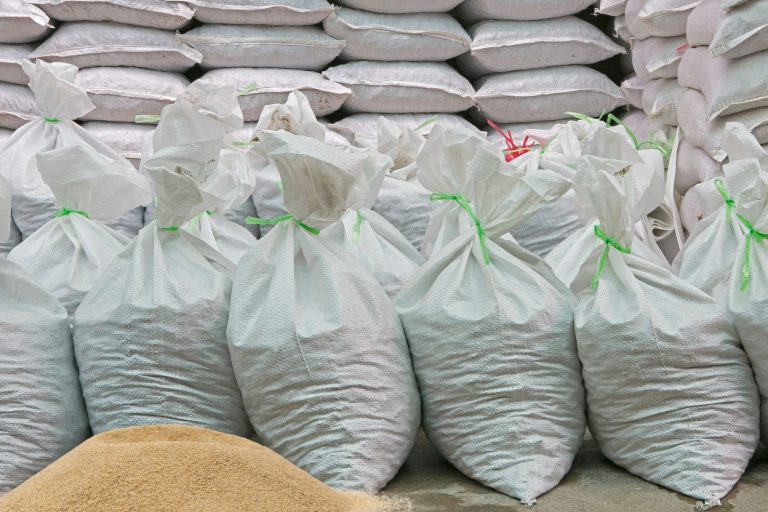
Fireproof Sand:
Pros: Fireproof sand, often called “fire pit sand” or “fire-rated sand,” is specially designed to handle the heat of a fire pit. It creates a beach-like appearance and helps evenly distribute heat.
Cons: Over time, fireproof sand can break down due to exposure to extreme heat and may need occasional replenishing. It can also be less stable than other materials.
Fireproof Gravel:
Pros: Fireproof gravel is another suitable option that can withstand high temperatures. It provides good drainage and helps prevent the accumulation of water in the fire pit.
Cons: Similar to fireproof sand, fireproof gravel may require occasional maintenance and leveling, and it can be less comfortable to walk on.
Fireproof Pavers or Fire Bricks:
Pros: Fireproof pavers or fire bricks are highly durable and designed to withstand extreme heat. They are a permanent and stable flooring option for the inside of a fire pit. They also add a clean and polished look.
Cons: These materials are typically more expensive and labour-intensive to install compared to sand or gravel. They require careful placement and may not provide the same aesthetic as natural sand or gravel.
Caring for Your Pizza Oven: Maintenance Tips
Ensuring your outdoor pizza oven’s longevity and peak performance hinges on effective maintenance. In this guide, we’ll explore crucial tips for keeping your pizza oven in pristine condition and ready to serve up delectable slices for years to come.
After each use, scrape out any leftover ash, wood, or debris from the oven floor and walls. Use a brush or a long-handled scraper.
Wipe the interior with a damp cloth to remove any remaining soot or food residue. Avoid using harsh chemicals or abrasive scrubbers, as they can damage the oven’s interior.
Seasoning refers to the process of heating the oven to a high temperature to burn off any residual oils or contaminants; this helps prevent unwanted flavours from transferring to your food.
To season your oven, build a fire (around 315-425°C) and let it burn for several hours. This process should be repeated periodically, especially when you notice odours or flavours that affect your food.
Inspect the oven door for any damage or wear. Make sure it seals properly when closed. If the gasket or seal is damaged, replace it to maintain heat efficiency.
Keep the chimney clean by using Soot-Loose Chimney & Flue Cleaner, clear obstructions like bird nests, leaves, or debris. Ensure that the smoke can escape freely.
Check the insulation around your oven dome. If it appears damaged or deteriorated, repair or replace it to maintain proper heat retention.
Clean the exterior of your pizza oven regularly. Use mild soap and water or a specialized outdoor oven cleaner suitable for your oven’s material (brick, stone, etc.).
Cover your outdoor pizza oven with a weatherproof cover or tarp to protect it from the elements when not in use, as this helps extend its lifespan.
Promptly tend to any interior cracks or damage on the oven’s dome or base using Hotspot Ready Mortar to prevent further degradation. Seal any cracks or gaps in the flue with Black Patch Stove Putty. Depending on the material of your oven, you may need to consult a professional for repairs.
If you use wood or charcoal as fuel, store it in a dry, sheltered area to prevent it from getting wet.
Keep an eye out for pests like insects or rodents that might take up residence in your oven. Use appropriate pest control measures to keep them out.
Periodically, having your outdoor pizza oven inspected by a professional is a good idea to ensure it’s in good working condition.
Remember that regular maintenance will prolong the life of your outdoor pizza oven and enhance the flavour of your pizzas and other dishes cooked in it.

Maintaining your BBQ ready for summer
Barbecue maintenance may not be the most glamorous task, but it’s a crucial one that directly impacts your outdoor cooking experience. Regular upkeep is vital for safety, ensuring your barbecue functions without risks like gas leaks or overheating. Beyond safety, maintenance directly affects performance. Clean burners, grates, and vents ensure even heat distribution, leading to delicious and evenly cooked meals. Keeping your barbecue in top shape also enhances its durability, saving you money in the long run. Plus, a well-maintained grill is more hygienic, prevents food contamination, and boosts the visual appeal of your outdoor space. Simplifying this task is the BBQ Cleaner & Degreaser, specially designed to make barbecue cleaning and upkeep more efficient.
Here's how you can use it effectively:
Materials and Tools:
- Magic’s BBQ Cleaner & Degreaser
- Wire grill brush or scrubber
- Sponge or cloth
- Plastic scraper or putty knife
- Bucket of warm water
- Disposable gloves (optional)
- Protective eyewear (optional)
Always follow the manufacturer’s instructions and safety precautions when using any cleaning product.
Safety First: Put on disposable gloves to protect your hands, especially if you have sensitive skin. Wearing protective eyewear is also a good idea to prevent any splashes.
Preparation: Ensure that the barbecue is cool to the touch and disconnected from any gas or power sources.
Remove Grates and Drip Trays: Remove the grill grates, warming racks, and drip trays from your barbecue and set them aside. These will be cleaned separately.
Apply Magic BBQ Cleaner & Degreaser: Spray or apply the BBQ Cleaner & Degreaser generously over the interior, exterior, grates, warming racks, and drip trays, focusing on areas with built-up grease and grime.
Let it Sit: Allow the cleaner to sit for the recommended time (typically 10-15 minutes) to loosen and break down the grease and carbon deposits.
Scrub and Clean: Use a wire grill brush or scrubber to scrub the grates and any other grill parts with stubborn residue. Use a sponge or cloth to wipe away the cleaner and loosened debris for the interior and exterior surfaces.
Scrape Off Stubborn Deposits: For specifically tough deposits, allow the BBQ Cleaner & Degreaser to remain on the surface for as long as necessary. Then, use a plastic scraper or putty knife to delicately remove them, taking care not to cause any scratches on your barbecue’s surface.
Rinse Thoroughly: Rinse all parts of the barbecue, including the grates and drip trays, with a bucket of warm water to remove any remaining cleaner and residue. Ensure that all traces of the cleaner are gone.
Reassemble: Once all parts are clean and thoroughly rinsed, reassemble the barbecue, including the grill grates, warming racks, and drip trays.
Maintenance: To keep your barbecue clean and well-maintained, regularly clean the grates and interior surfaces after each use and apply the BBQ Cleaner & Degreaser as needed.
Cleaning Stainless Steel areas: Shake the Stainless Steel Cleaner & Protector well. Start with a small test patch before use. Apply a small amount of the cleaner to the soft cloth, avoiding printed areas.
Summary:
With your newly constructed fire pit, your well-maintained pizza oven using Hotspot Ready Mortar, and a spotless barbecue courtesy of BBQ Cleaner & Degreaser, you’re all set for unforgettable gatherings and mouthwatering meals in the upcoming season.
Handy Information:
- How to build a fire pit for only $60: https://www.keepingitsimplecrafts.com/how-to-build-diy-fire-pit-for-only-60/
- Easy DIY Brick Fire Pit: https://www.bvintagestyle.com/easy-diy-fire-pit/
- To Dig Or Not To Dig: Fire Pit Dos & Don’ts: https://christieslandscapes.com.au/fire-pit-dos-donts/
- What do I put in my fire pit?: https://www.allgreen.com.au/garden-advice/what-do-i-put-in-my-fire-pit#:~:text=Gravel%20provides%20drainage%2C%20particularly%20for,allowing%20for%20stability%20over%20time.
- What Bricks Can Be Used For A Firepit?: https://www.paragontools.ie/what-bricks-can-be-used-for-a-firepit/#:~:text=Bricks%20that%20shouldn’t%20be%20used%20in%20fire%20pits&text=Limestone%2C%20sandstone%2C%20gravel%2C%20and,order%20to%20avoid%20an%20explosion.
- How to Maintain and Look After Your Woodfired Pizza Oven: https://www.sydneyheaters.com.au/how-to-maintain-and-look-after-your-woodfired-pizza-oven/
- How to Clean Your Pizza Oven: https://www.alfaovens.com.au/blogs/news/how-to-clean-your-pizza-oven
- Will My Brick Oven Crack?: https://www.patioandpizza.com/blogs/resources/pizza-oven-crack
- 4 Simple Ways to Care For Your Pizza Oven: https://www.patioandpizza.com/blogs/resources/ways-to-care-for-your-pizza-oven
- How to Clean a BBQ – The Only BBQ Guide You’ll Ever Need: https://fantasticcleaners.com.au/blog/how-to-clean-a-bbq/
- Gas Grill Maintenance and Cleaning: https://www.thespruceeats.com/gas-grill-maintenance-334911
- How to Properly Clean Your Grill, According to Experts: https://www.foodandwine.com/cooking-techniques/how-to-clean-a-grill